
There is a particular disappointment in opening a flower press after three weeks and finding brown, papery smudges where your pansies used to be. Lifting a bundle of lavender down from the airing cupboard and watching the heads crumble onto the floor runs it close. Both are avoidable, and neither is really the fault of the flowers.
Drying flowers is not difficult, but it is unforgiving of shortcuts. Nearly every failure comes back to moisture — too much of it, trapped in the wrong place, for too long. Sort that out and the rest usually falls into place. What follows are the ten mistakes that catch people out most often, and the adjustments that put them right.
Mistakes 1–3: Harvesting and Conditioning
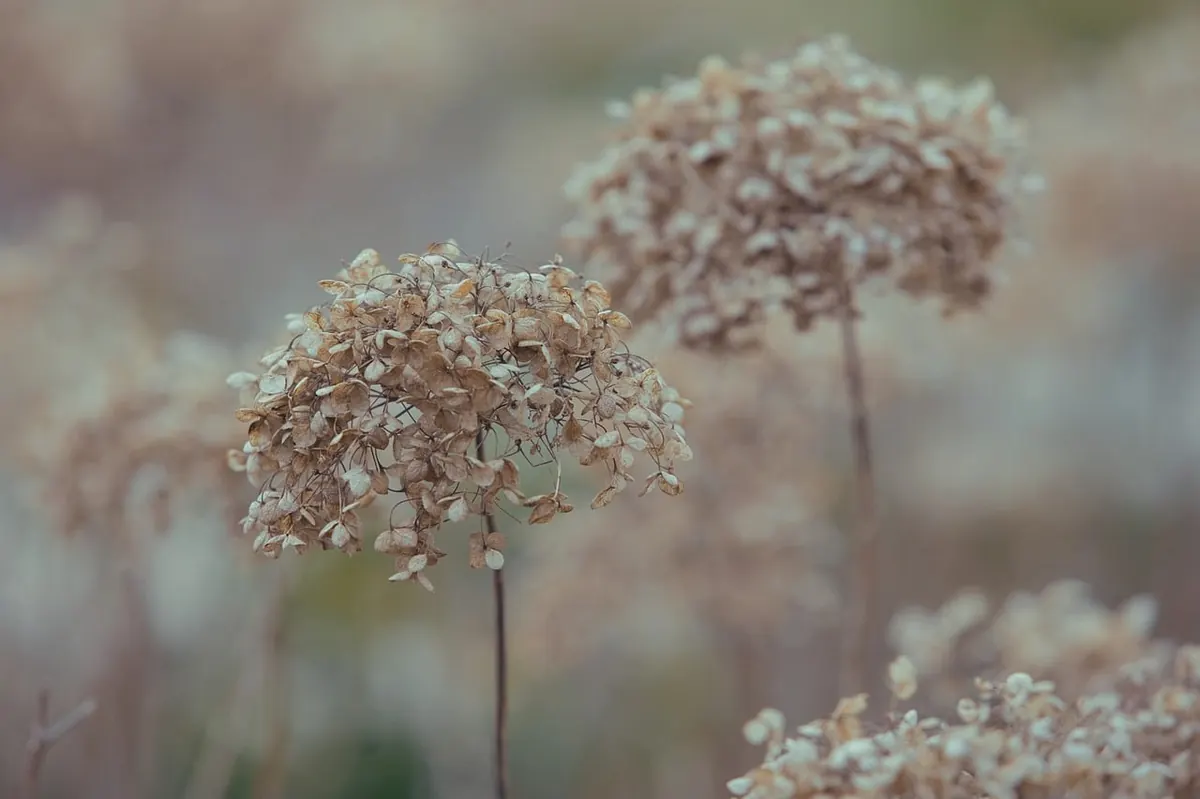
1. Cutting at the wrong stage. Take flowers when they are just fully open. A bloom already shedding pollen will drop its petals before it has finished drying, and one that is still tightly budded often never opens at all. Roses and dahlias are the classic casualties here: cut them at their peak and they hold their shape beautifully, cut them a day late and the petals fall away in the press. Hydrangeas are the exception that proves the rule — they dry best when the heads have begun to feel papery and the colour has started to turn, which is usually late summer. For seed heads and grasses, wait until they are fully formed and dry on the plant.
2. Cutting when the plant is wet. Mid-morning is the sweet spot: the dew has lifted, but the sun has not yet drawn the moisture out of the stems. Picking straight after rain, or while petals are still beaded, traps surface water inside the bundle and gives mould a head start. If you have to cut in damp conditions, lay the stems out separately for an hour before bunching them — a single layer on a dry towel in a warm room, not a heap on the bench. Damp marigolds and damp cornflowers will both go brown long before they go dry.
3. Leaving the lower leaves on. Foliage holds a lot of water and slows everything down. Strip the bottom third to a half of each stem before you hang it, ideally working outside over a compost heap rather than across the kitchen table. It also pays to remove any damaged or discoloured leaves further up, since those are the first places rot takes hold. A clean, bare stem dries in a fraction of the time.
Mistakes 4–5: Air-Drying
4. Tying bundles too thickly. Five to eight stems is plenty. A generous armful looks efficient, but the outer stems dry crisp while the middle stays soft and eventually goes mouldy. Tie with an elastic band rather than garden twine — stems shrink as they lose water, and string slips loose, while a band keeps a gentle grip the whole way through. If you are short of hanging space, spread the stems in a single layer on a wire rack instead; wildflowers and small sprigs dry perfectly well that way.
5. Hanging them in the wrong place. Dried flowers want dark, dry and airy. Somewhere that fails on any of those three will cost you colour, shape or the whole bundle. The usual offenders:
- The kitchen, where every boiled kettle adds steam to the air.
- The bathroom, for much the same reason.
- A sunny windowsill, where strong light bleaches petals within days.
- A shed or garage that feels clammy to the touch — if the air is damp, your flowers will be too.
- A sealed room with no movement of air, which lets moisture settle around the stems.
A spare bedroom, an airing cupboard that genuinely gets air through it, or a dark loft hatch all work well. Hang them upside down, by the way, not in a vase. Gravity does useful work here: stems dry straight rather than drooping, and the flower heads hold their shape. Leave a clear gap between bundles so nothing touches, and go by feel rather than the calendar — two to three weeks is typical, but thin stems can be ready in ten days.
Mistakes 6–8: Pressing and Impatience
6. Using the wrong paper — and never changing it. Kitchen roll, blotting paper and plain cartridge paper all work; glossy magazine pages and newsprint do not, because the ink can transfer and the paper holds moisture against the petals. Whatever you use, change the paper after the first day and again after a week. It will feel genuinely damp, and that is the moisture leaving your flowers. Pressing fresh sheets against old, saturated ones is one of the most common reasons for brown, translucent petals.
7. Not enough weight, or too many layers at once. A press needs firm, even pressure — a stack of heavy books will do, but it has to be a proper stack. Ten to fifteen kilos is not excessive. Equally, cramming twenty flowers into one press means the pressure spreads unevenly and the middle layers stay soft while the outer edges are flattened to nothing. Work in thin layers, and if you must stack, rotate the whole arrangement every few days so the same flowers are not always at the bottom.
8. Pressing flowers that are too thick. A whole daffodil or a fat-centred rose will either fail to dry or go brown in the middle. Split the flower down the stem, remove the thick green base, and press the halves face down. Alternatively, use silica gel for anything three-dimensional you want to keep its shape — roses, zinnias, dahlias and anything else with a dense core.
Mistakes 9–10: Storage and the Long Term
9. Packing them away before they are bone dry. Flowers dried in silica gel or a microwave come out warm and crisp, then soften again as they cool. If you box them immediately, that moisture has nowhere to go. The reliable test is to seal a few flowers in a jar with a lid, leave them for a day, and check for condensation on the glass. Any fogging means more drying time. Stems should snap rather than bend, and petal tips should feel like paper, not leather.
10. Storing them in the wrong conditions. Light fades dried flowers faster than almost anything else, and dust ruins them permanently. Keep pressed flowers flat between sheets of acid-free tissue in a box in a dark cupboard; keep stemmed flowers upright in a rigid container so the heads do not crush. Skip polythene bags, which trap condensation; if you must use one, add a sachet of silica gel and seal it properly. Recharge or replace those sachets every few months, particularly in a damp climate.
How to Tell When a Flower Is Properly Dry
If you remember nothing else, remember this short checklist:
- The stem snaps. If it bends, it is still holding water.
- The petals feel dry and slightly crisp, not cool or clammy against your lip.
- The head is noticeably lighter than when you cut it — sometimes startlingly so.
- No condensation appears when a sample is sealed in a jar overnight.
- The colour has settled. Slight fading is normal; dramatic browning or greying is not.
When in doubt, leave it another week. There is almost no penalty for over-drying. There is a very large one for stopping too soon.
Matching the Method to the Flower
Different flowers want different treatment, and choosing the wrong method is its own quiet mistake:
- Air-drying: lavender, statice, strawflowers, hydrangeas, grasses, seed heads, eucalyptus, honesty.
- Pressing: pansies, violas, cosmos, ferns, delphinium florets, single roses — anything flat and thin.
- Silica gel: roses, dahlias, zinnias, lilies — anything with a thick centre that must keep its three-dimensional shape.
- Glycerine: magnolia and beech leaves, and woody stems you want to stay supple for wreath work.
- Microwave: small quantities in a hurry, and only with careful timing — a few seconds too long turns petals to ash.
Whichever route you take, work with clean, dry hands and clean tools, and keep a note of what you cut and when. After a season or two you will have your own list of flowers that dry beautifully and flowers that simply are not worth the trouble.
Dried flowers are a record of patience. Everything that goes wrong goes wrong because something was hurried — and everything that goes right looks effortless.
Photo: HeiKiwi / Pixabay