
Title: A Checklist for Setting Up a Nature Craft Kit for Kids
There's a particular sort of afternoon that starts with a child emptying a coat pocket onto the kitchen table: three conkers, a feather, a fistful of leaves and something that might once have been a berry. With a nature craft kit within reach, that haul becomes an hour of making. Without one, it becomes a small pile of debris on the windowsill. The difference is a box by the door, stocked with cheap, safe and genuinely useful things.
The good news is that this is a one-off job rather than a weekly chore. Spend half an hour assembling it once — ideally during a wet weekend when nobody wants to be outside anyway — and it will quietly pay for itself for years. Most of what follows is either already in your house or costs a couple of pounds. The aim is not a beautiful, matching, Instagram-ready craft cupboard. The aim is a box that a seven-year-old can open without asking permission.
Start With the Essentials
You don't need much to begin, and almost none of it needs to be purpose-bought. Raid the kitchen drawer, the shed and the charity shop, then top up with a few supermarket basics. This core kit covers leaves, bark, feathers, shells, twigs and paper in one sitting.
- PVA glue — a squeezy bottle with a fine nozzle for detail, plus a pot of the thicker sort for pine cones and chunky bark.
- Glue sticks for paper and pressed leaves. Quick, tidy, and hopeless on anything heavy.
- Masking tape, plus a roll of low-tack tape so small hands can reposition without shredding the paper underneath.
- Garden twine and a ball of wool for hanging, wrapping and tying bundles of twigs together.
- Blunt-tip safety scissors that actually cut, rather than folding the paper and testing everyone's patience.
- A tray or old baking sheet with a lip, to stop seeds, sand and beads migrating across the floor.
- A wipe-clean tablecloth, an old shower curtain or a sheet of plastic.
- An old towel and a damp cloth for hands, plus a lidded pot of water for brushes.
- A basket, bucket or cotton bag for collecting.
Two extras are worth adding on day one, because they solve the two most common complaints. A roll of baking parchment stops glued leaf pictures sticking to the table, and a stack of old cereal packets, cut open and flattened, makes free, sturdy backing card for anything that needs to stand up. Heavy paper or thin card is the difference between a collage that survives the journey home from school and one that doesn't.
What to Collect, Not Buy
Half the pleasure is in the gathering, and gathering costs nothing. Match the kit to the season rather than fighting it: catkins, fallen blossom and feathers in spring; seed heads, shells, pebbles and sand in summer; conkers, acorns, sycamore keys and every shade of leaf in autumn; twigs, bark, evergreen sprigs and dried seed pods in winter.
A few finds work better than others. Leaves press flat and stick beautifully. Feathers, shells and small stones are satisfying to sort and sort again. Conkers and acorns are lovely to hold but heavy, so they need thick glue, a hand drill or a lot of patience. Keep a shoebox for anything that needs to dry before it's used — damp leaves curl, and wet sand falls off in sheets.
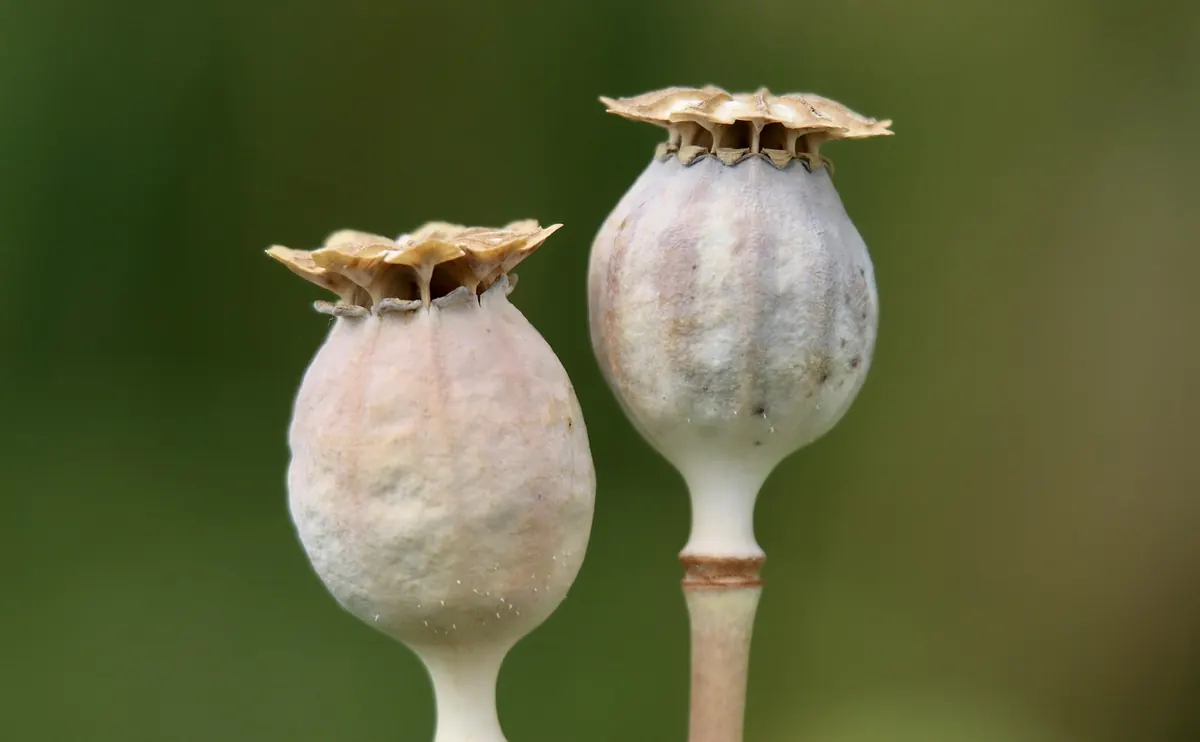
It's also worth noticing what makes a good making material rather than just a good collecting one. Pine cones, teasels, dried honesty seed heads and sycamore keys all have interesting shapes that hold their form once dry. Long grasses and seed heads will go brittle, so they work best pressed or used the same day. Anything still damp from the ground should sit on newspaper overnight before it goes near glue.
Ground rules worth repeating every time
- Take what has already fallen rather than pulling things off plants, trees and hedges.
- Ask before collecting on land that isn't yours, and leave anything growing in a nature reserve or a garden with a "please don't pick" sign. Wild plants and fungi have various protections in the UK, so the simplest habit is to take loose finds and leave living things where they are.
- Leave fungi alone. They are easy to misidentify and some are seriously harmful, so they are not a craft material.
- Skip berries you can't name, and make "nothing goes in your mouth" the first rule of every session.
- Wash hands when you get home. After long grass or woodland, a quick check for ticks is sensible; if you're worried about a bite, ask a pharmacist or your GP.
Adhesives, Paints and Mess Control
Water-based everything. Poster paint, ready-mixed children's paint, watercolour pans and a couple of small brushes cover almost every project, and they clean up with warm water and a drop of washing-up liquid. Air-dry clay, salt dough and a tin of wax crayons earn their place too.
Decant paint into jam jars or yoghurt pots rather than carrying big bottles outside. A jar lid makes a decent palette, and an old ice cream tub half-filled with water stops brushes going stiff between projects. Keep a second, dry pot for anything that has to stay clean, and keep a small tub of soil or sand handy for sprinkling onto glued surfaces — it makes surprisingly convincing ground for a model or a bug house.
Worth leaving out
Solvent-based glues, spray adhesives and anything with a strong chemical smell don't belong in a kit that children use at the kitchen table. If you're sealing a finished piece with a varnish or fixative, do it outdoors or somewhere well ventilated, away from children, and follow the label. If a child has sensitive skin, eczema or known allergies, check product labels and ask a pharmacist or GP if you're unsure about a particular material.
Tools and Fixings
Split the kit into two tins: one children can reach, one they can't. It saves the same argument every single time.
The children's tin
- Blunt-tip scissors, plus a pair of dedicated garden snips for cutting twigs to length with an adult nearby.
- A metal skewer, a small hand drill or a strong darning needle for threading conkers, acorns and wooden beads onto twine.
- A couple of pipe cleaners — endlessly useful for threading, joining and hanging.
- Plastic needles and thick thread or embroidery floss for simple stitching onto card or felt.
- A glue spreader or a lolly stick for smoothing PVA, and an old paintbrush for brushing glue onto fiddly shapes.
- Clothes pegs and a couple of bulldog clips to hold glued joins while they dry.
- A ruler, a pencil and a rubber.
The grown-ups' tin
- A craft knife, kept well out of reach and used on a cutting mat.
- A hot glue gun, if you have one, for the joins nothing else will hold — adult use only.
- A hole punch, a stapler, and a needle and thread.
- A permanent marker for labelling jars, boxes and drying trays.
Storing It So It Actually Gets Used
A well-stocked kit is no use at all if it lives at the back of a cupboard behind the Christmas decorations. The single most important item on this whole list is arguably the box itself, and the rule is simple: it should be easy to open, easy to see into and easy to carry to a table or out of the back door.
- One lidded crate or shallow box, not three stacked ones, and nothing too heavy to lift.
- Clear jars or small tins for buttons, beads, elastic bands and pebbles, so children can find things without tipping everything out.
- A separate collecting bag by the door — a cotton tote or a bucket with a handle.
- A "drying shelf", even if it's just the top of a bookcase, where glued pieces sit undisturbed overnight.
- Two minutes of tidying at the end of each session: a quick refill of glue and tape, and anything broken thrown out. A kit that's still ready the next time is a kit that gets used.
The best nature craft kit isn't the fullest one. It's the one that's already open when a child comes in with a pocket full of leaves.
Five First Projects to Try
If the kit is new, start with something that succeeds in ten minutes. Momentum matters more than ambition.
- A pressed-leaf picture. Pop leaves between sheets of newspaper under a heavy book for a few days, then arrange them on card and glue with a stick. Label them with their names if you know them.
- A twig and twine star. Tie five or six straight twigs into a star shape with garden twine, then wrap the joins tightly. Hang it outside and watch it weather.
- A conker or shell treasure box. Decorate the lid of a small cardboard box with glued finds, then seal the whole thing with a coat of watered-down PVA.
- A feather and pebble collage. Sort the finds first — by colour, size or shape — then glue them down. The sorting is half the activity.
- A simple nature journal page. One drawn leaf, one glued leaf, and a single sentence about where it was found. Do a page each season and you've made a record without trying.
None of this needs to be perfect, and very little of it should be. The box by the door exists so that the pocketful of conkers, feathers and unidentifiable berries has somewhere to go — and so that the afternoon, rather than the debris, is what gets remembered.
Photo: simonegmoreira / Pixabay